In this series of articles, I would show how to make Azure Site Recovery work with Hyper-V- step by step.
This is part 2 of the series.
Now time to get back to making azure site recovery work.
Login on to the server that has Hyper-v role enabled and have virtual machines in it.
Login to the Azure subscription and navigate to the “productionvault” dashboard. It should like shown below.
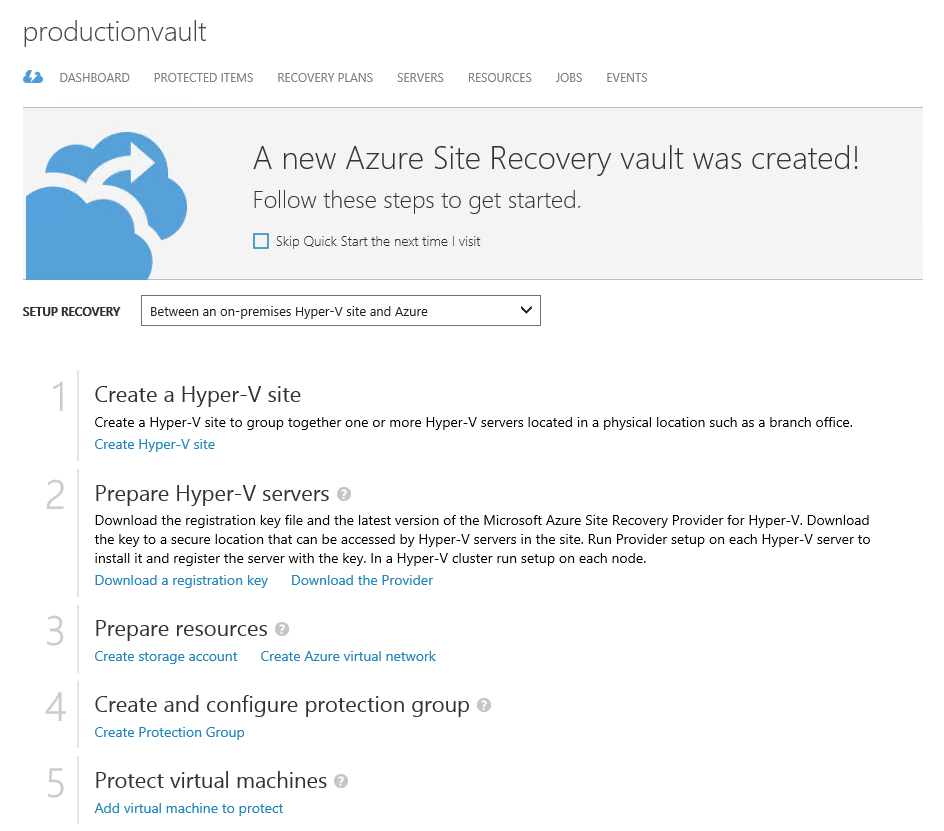
Now, it time to create a Hyper-V site.
Click on “Create Hyper-v site” link as shown on above screenshot. A popup window appears. Provide “productionDRsite” for name input and click on complete button. Again it take a while to get the Hyper-v site created.

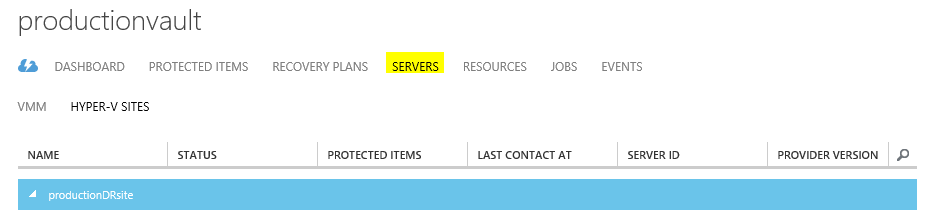
After the Hyper-v site is provisioned, it would be appearing within the server tab as shown below.
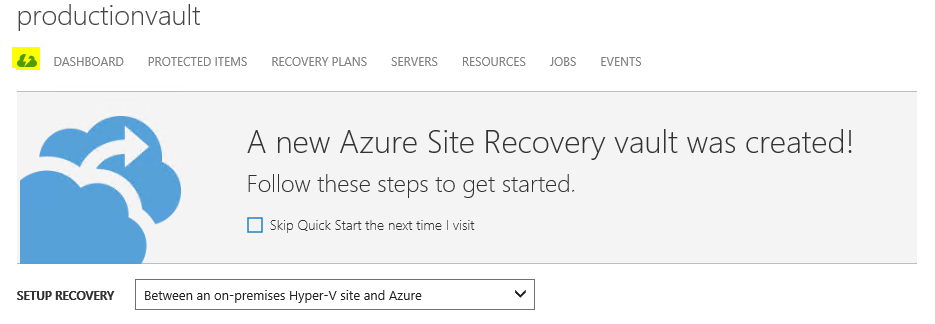
Click on the cloud icon beside the dashboard tab as shown below to follow the next steps.
Click on “Download a registration key” link to download the vault credentials and keys.
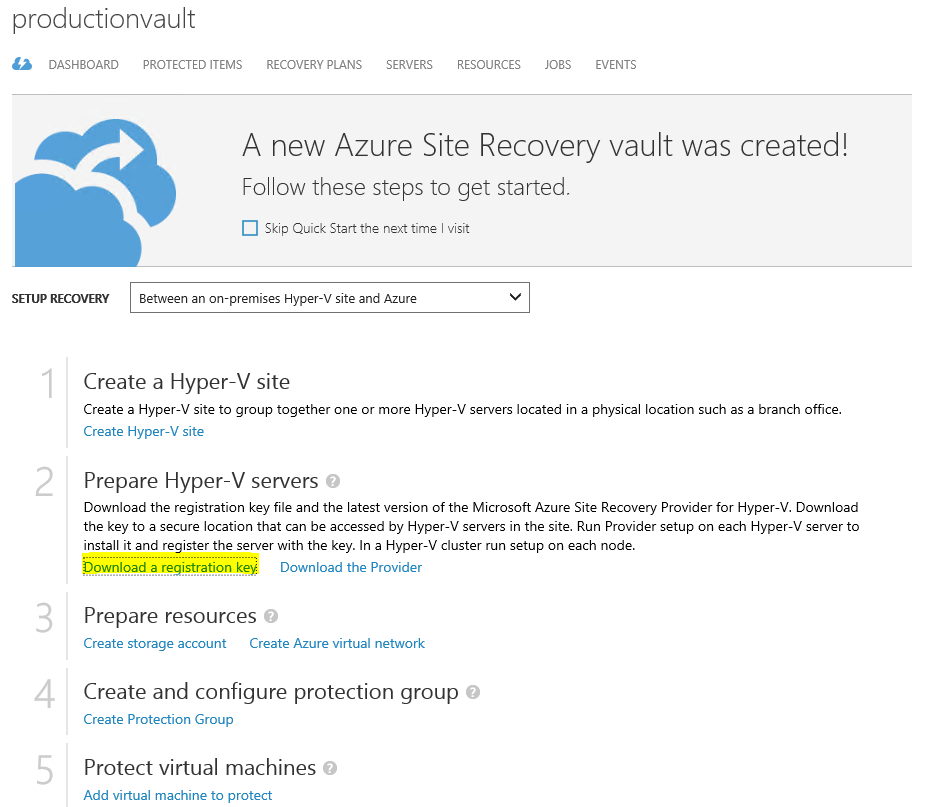
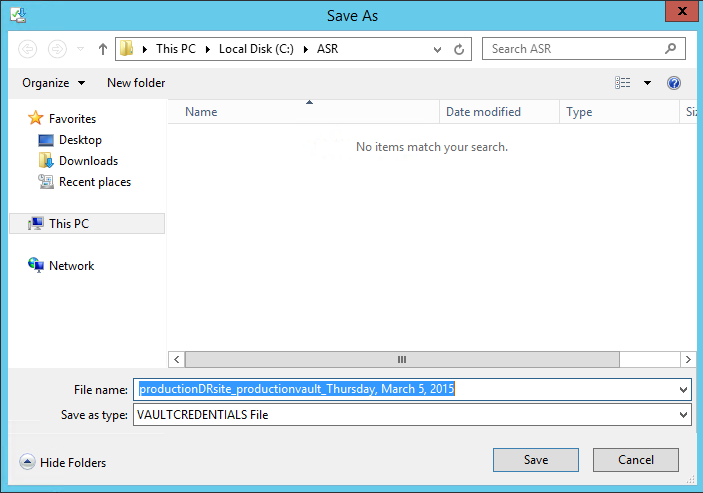
This would pop up a window displaying the site name along with download link. Click on download link and download the vault credential file and save it on file system i.e. “C:\ASR” folder location.

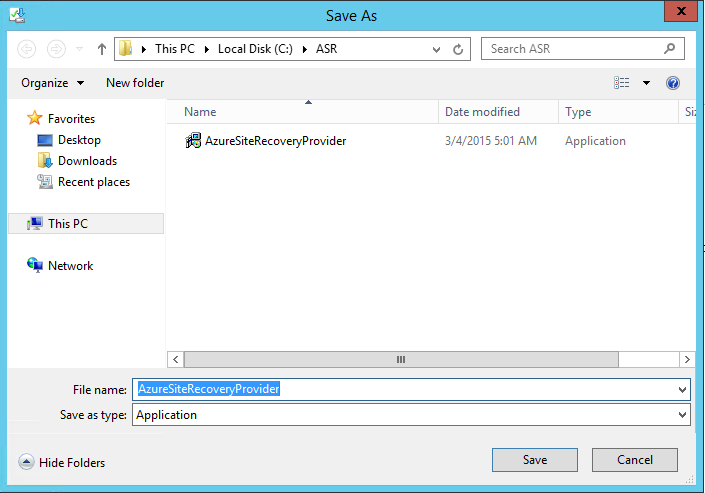
Click on “Download the provider” to download the provider.

And save it to the same location at that of vaultcredentials file.
In next part (part-3), we will continue with the step by step guide and configure the downloaded provider, create the storage account and protection groups.
stay tuned!
Cheers!!

Leave a reply to Azure Site Recovery : Hyper-V to Azure – Part 1 | Automation Next Cancel reply